2/20/16 – This is a video I made on the two Honda NC50 nopeds I just picked up. I’ve started working on the 1980 NC50 and thought I’d keep a progress report here.
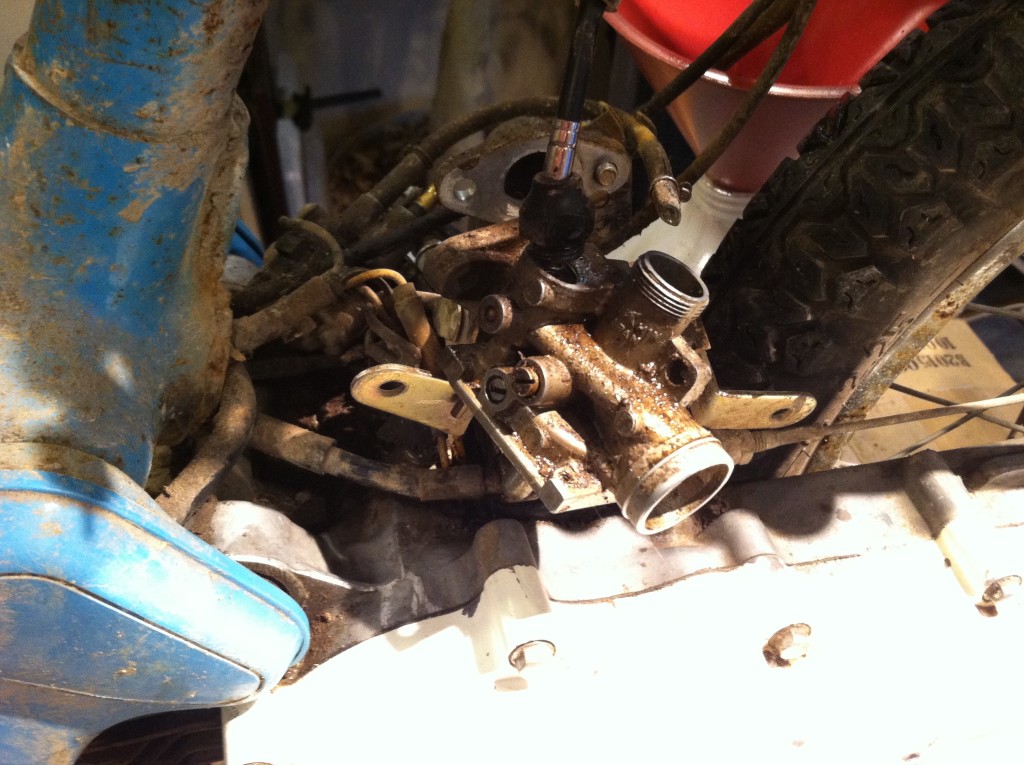
The first order of business is cleaning the carburetor. I soon discovered that this was going to be more of challenge than I originally anticipated. The choke is rusted into the body of the carb. I soaked it in WD-40 overnight and was able to pry out some pieces of the choke but there’s still a little bit stuck in the carb. I may have to soak it in Evaporust or try some POR-15 (whoops, getting my stuff mixed up – PB Blaster and not POR-15). A used carb for this Express runs $125+. So I need to make this one functional. I think a choke off of a QT50 might work. I imagine buying an Express choke on ebay might run me some money too.
For $125, I could upgrade the intake and get a bigger carb but I’d have to probably mess with the throttle cable to get it to work right.
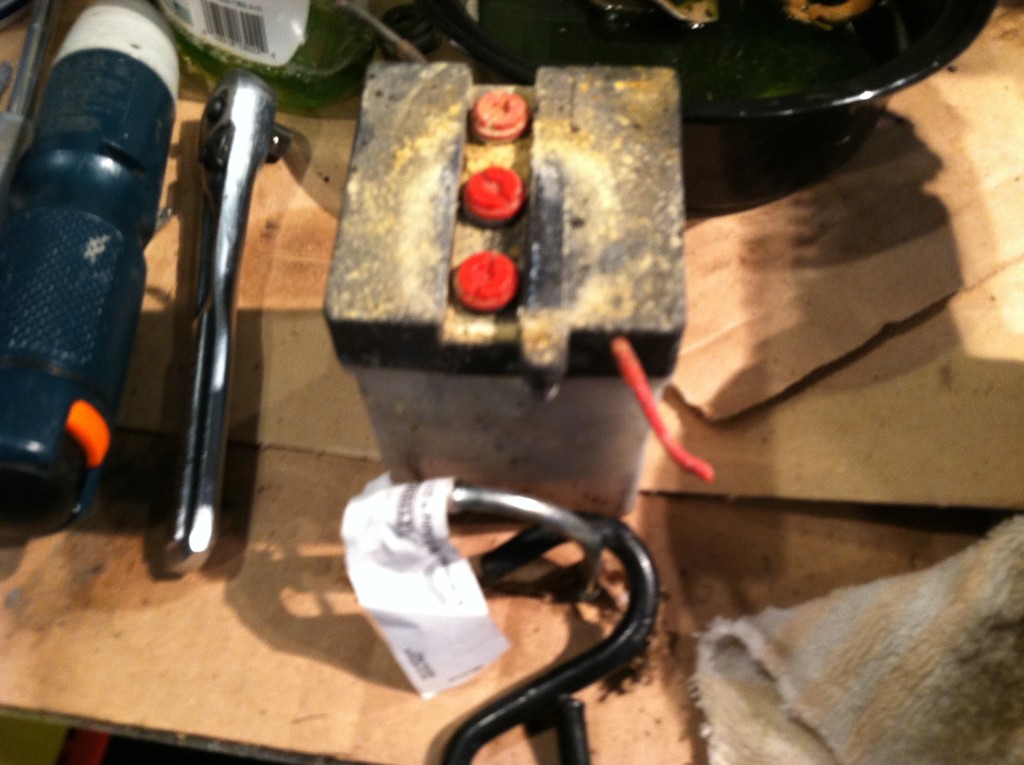
Here’s the old battery. Obviously, it’s toast. I went over to Batteries Plus and bought a new one. Only $23 and change. They are charging it up for me now.
I started cleaning up the transmission cover and other parts of the bike. It’s a real mess. Probably not a good idea to run this around without a rear fender as everything gets coated in dirt. It’s making a mess out of my garage as well. I’m going to try to adapt a QT50 rear fender to work on the Express. Express fenders are hard to find and are expensive. I just bought front and rear QT50 fenders for $37 shipped. Not terrible.
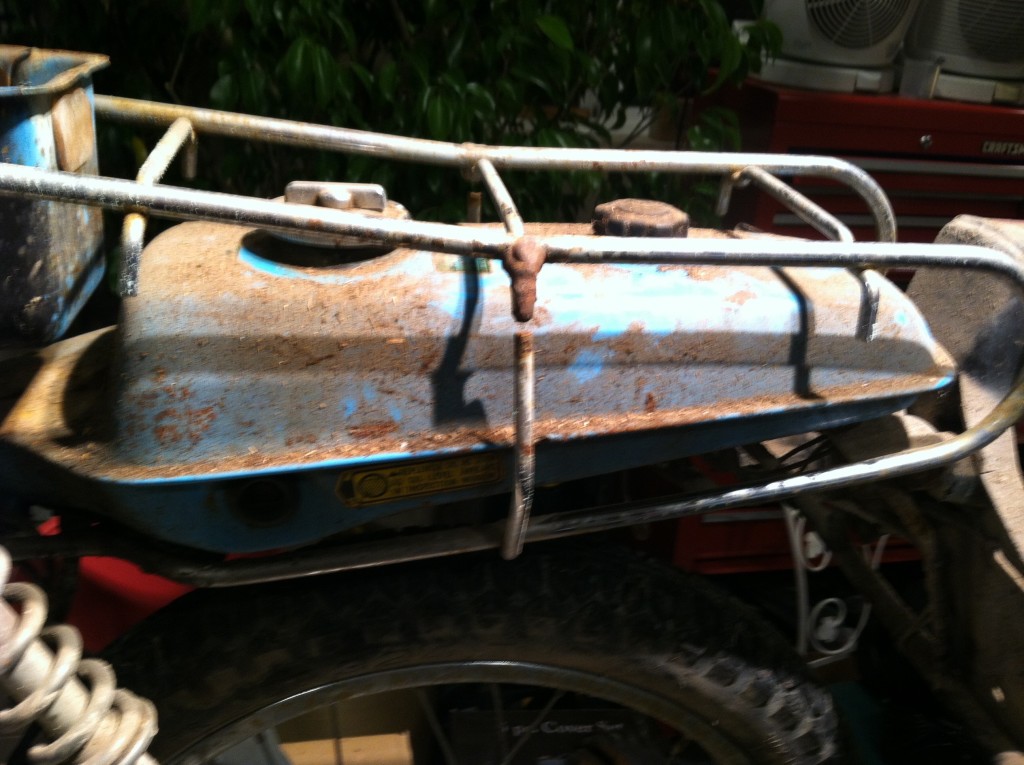
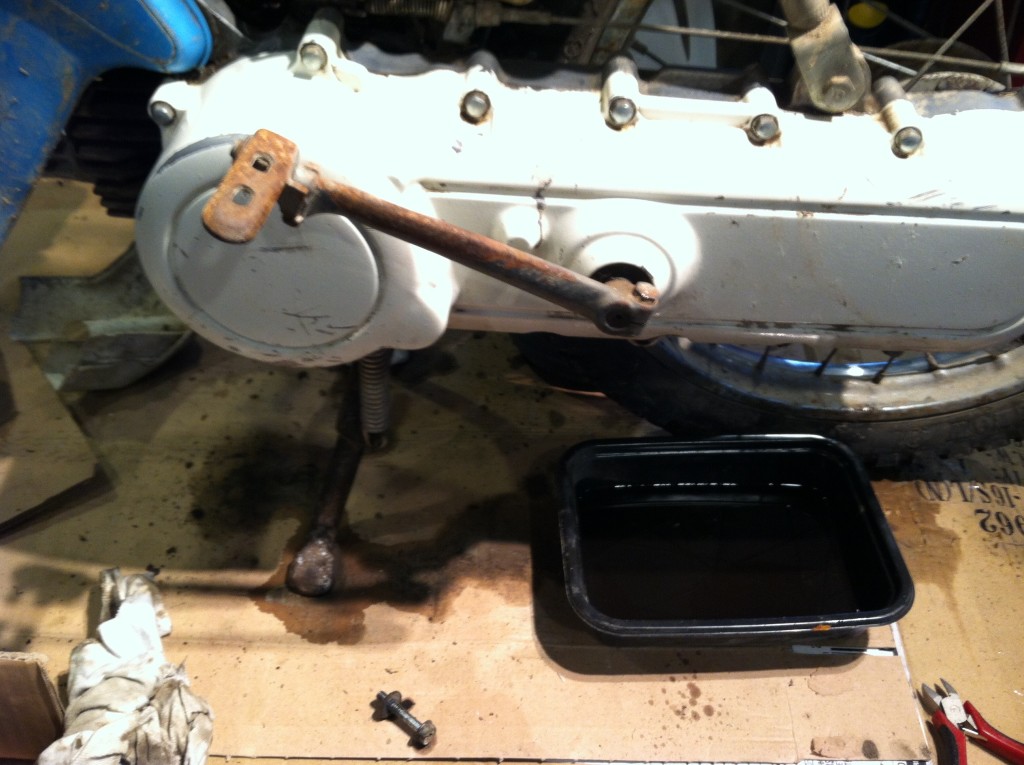
Here’s a shot of the gas tank. I started cleaning it up and currently have it filled with Evaporust. There’s some rust inside. Not too bad. It’s holding the Evaporust without leaking. I also drained the oil tank and also drained the transmission of oil. The transmission oil came out real slow. I let it drip forseveral hours and got about 12 ounces or so out of it.
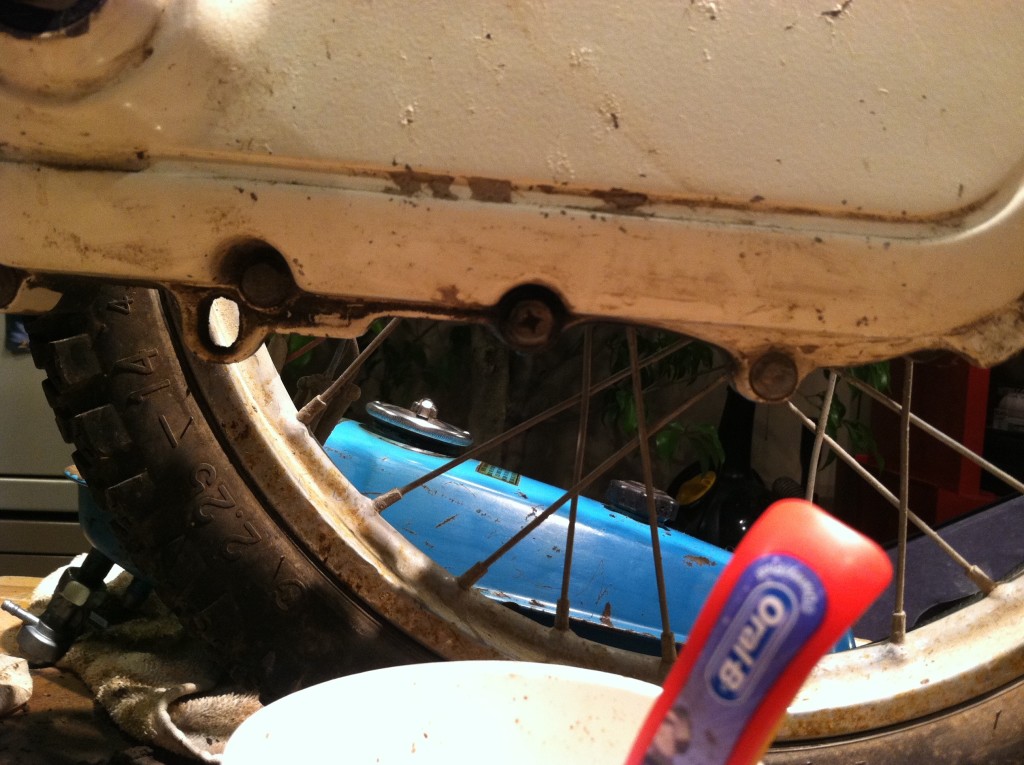
Someone on mopedarmy.com asked where the drain and fill bolts were on the Express. This is the drain bolt (center of screen).

Here’s where you fill it with transmission oil (center of screen). Manual recommends 10W-40 in summer and 5W-30 in winter. If you drain it from the drain bolt then you’ll need to add 21 ounces to refill it.
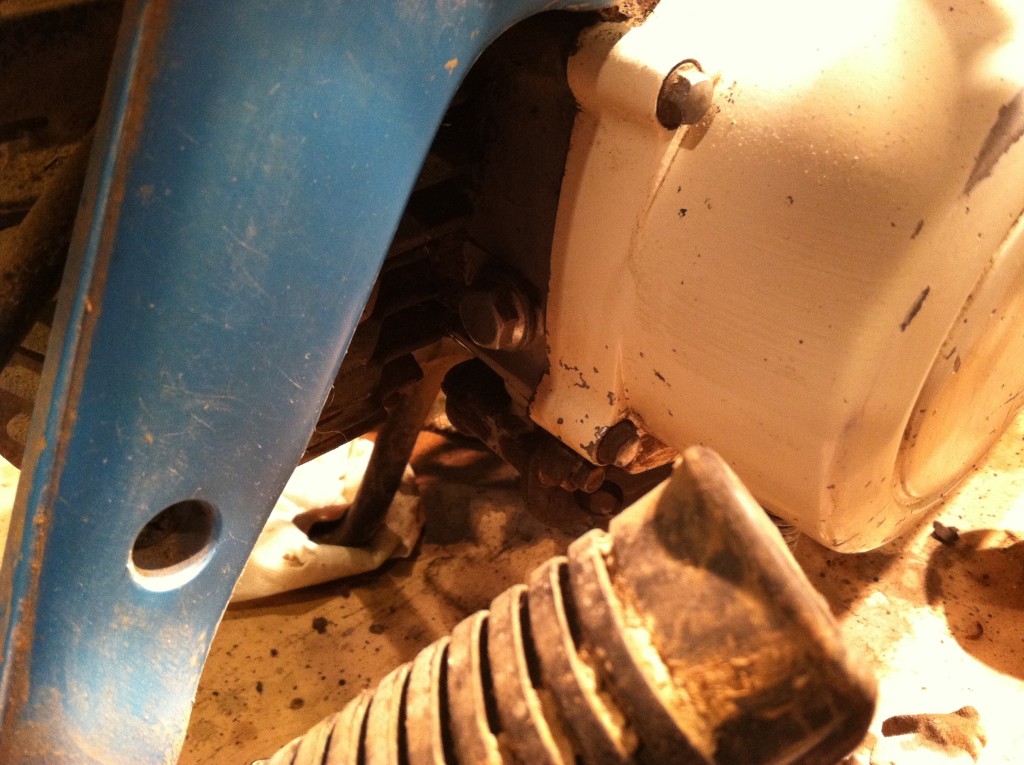
Here’s a better picture of the fill bolt.
I really like the center stand on the Express. It is solid! I keep running into bent ones on Yamahoppers. The folding foot pegs are a nice addition as well. They help with storage. I’m making progress. I just need to get that rusted choke out of the carb without damaging the carb. I started to make a shopping list. I’ll put that on here and keep track of expenditures.
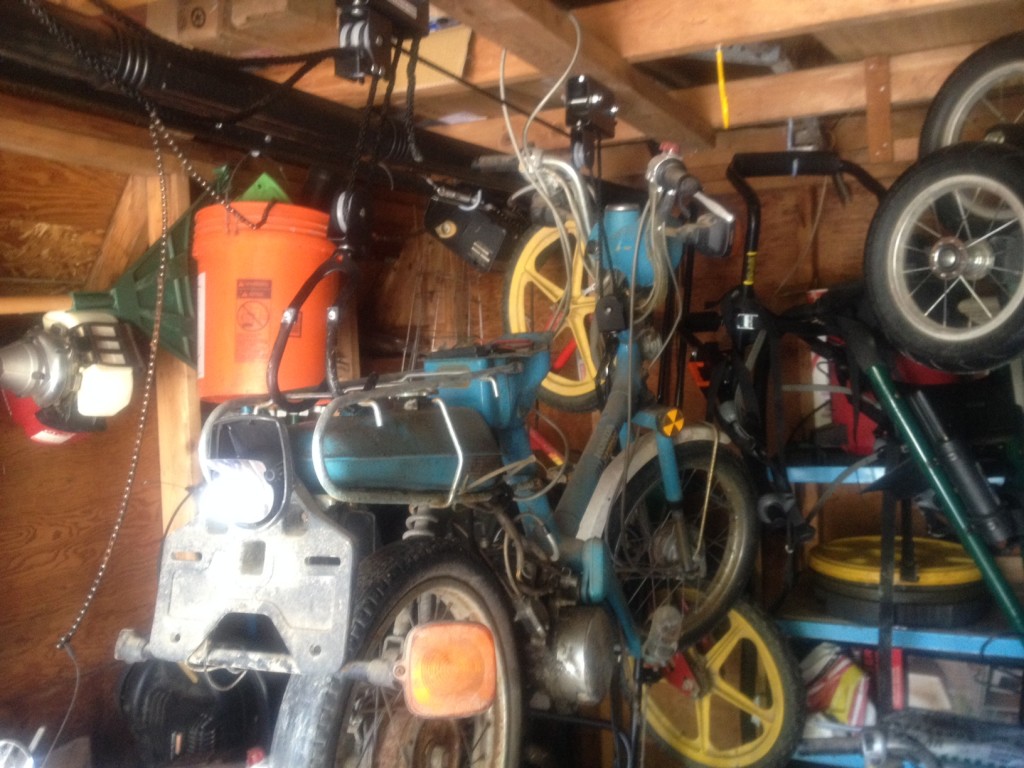
I have a few nopeds so I needed to organize my storage space. Here’s a kayak hoist I bought that works perfectly for the Honda Express and other nopeds that don’t exceed the 125 lb. capacity of the hoist. I reinforced that 2×4 with 3 inch wood screws in several locations. I knew it was fine when I could hang from it with no problem. I outweigh the Honda Express by about 50 pounds. It pulls up pretty easily and you lock it in place. I liked it so much I ordered another one. I may even get a third as well as some more for other uses. My buddy works on mowers and this would be great for lifting them up and down – to and from the workbench. It comes with two straps that are meant for going around a kayak. I don’t need them for the scooters but they might be handy for securing a mower.
I took the two hooks and attached one to the frame by the front tire and one to the rear rack. I noticed the rear rack was missing a bolt that attaches it to the frame. I replaced that bolt and tightened all the others. I’m a little worried about using the rear rack to lift it by but that was the best place to attach the second hook. I’ll keep an eye on it. I guess the rear rack is only supporting about 60 or so pounds.
In crowded storage situations, the turn signals always get bumped. That’s why the turn signal lenses are missing from these Hondas. The seller had them in a crowded barn and he probably broke them moving them around or moving other stuff around. Lift it off the ground and you have less to worry about and more room to move around. From this height, you have a good vantage point for working on it as well.
2/22/16 – I made a little progress today. I dumped out the Evaporust from the gas tank, rinsed it out and then rinsed it again with alcohol. I let it dry and then coated the inside with 2 stroke oil as I don’t know when I’ll be mounting it and putting gas in it. I found a piece of the old petcock inside it and fished that out as well. I discovered that my carburetor is also missing the brass fuel inlet. I’m going to try to push in another from a QT50. I finished cleaning the carb after letting it soak for a day or so and put it back together. I’m soaking the rusted choke mechanism in WD-40. I might have mentioned already that I got some pieces of the choke out but not all of it yet. I hope I can make this carburetor work. I retrieved my battery as well and will hook that up later.
2/23/16 – still soaking choke in WD-40 to un-rust the darn thing.
2/24/16 – Ok, so I guess it’s not really rust that’s gluing that brass choke plunger to the carb body. We’re dealing with brass and aluminum. It’s apparently dried up gas that is the culprit. Someone on mopedarmy.com told me to soak the carb in really hot water to dissolve the gas and free the choke plunger. I’ll give it a shot. Otherwise, I replaced some turn signal bulbs and some instrument panel bulbs. I discovered that I have an unconnected pink wire so I need to figure out where that attaches.
2/28/16 – I was able to finally remove the old choke. I cooked the top half of the carburetor in soapy water for a couple hours. Then I took a drill bit and pushed up through the choke opening leading into the carb and was able to push the choke plunger out. I took a QT50 choke plunger which seemed to be the right size and replaced the old one with that. I was also missing the brass fuel inlet on the carb. A QT50 one was a little too big. I decided to drill out the opening in the carb. After going through a few drill bits, I got it the right size. I blew out the aluminum shavings with my air compressor, put some thread locker red on the brass fuel inlet, and pushed it in. Looks like it might work.
I assembled the carb and slapped it on the bike. I cleaned up the rear rack, put the gas tank back inside, and installed it on the bike. I connected the battery, wired up the rear lights as best I could, installed a spark plug, and cleaned up the bike some more. I need to attach the exhaust after getting some hardware, add oil to the transmission, pop on an air filter and try to start it.
2/29/16 – Happy Leap Day! I got the barn find running after much effort. My buddy came over to help me and I think he was more excited than me. We rode it around the neighborhood for awhile and then he left. I started it up again and realized why it would only go 20 mph – the tire was rubbing against the exhaust. I fixed that and got it up to 27 mph. You need a spacer of about 1/2″ to keep exhaust from rubbing against tire/axle nut. After about 15 minutes of riding, it died on me. I’m hoping it just a fuel delivery issue. This one was stored without a spark plug for years so there could be dirt/rust in cylinder. I’ll know more tomorrow.
Alive and kicking!
3/4/16 – ok, my buddy wants to buy this and use it as a pit bike so I’m trying to wrap this project up. Just put on a new headlight, wrapped up some wiring, took off the rear turn signals, adjusted the carb, added a drain hose to the transmission, replaced a missing spoke, added a mirror, connected oil line hose to oil injector, and did some general cleaning. What’s left?
Add a rear fender, install exhaust guard, add turn signal lenses for the front, try to bend the handlebars back, add oil line hose from injector to carburetor, and fix a starting problem. I think the pilot jet needs cleaned out. It refuses to start when cold unless I dump a little gas directly into the cylinder.
Once I get some weedeater fuel line, I’ll be able to fully hook up the oil injector. I may try that out just to see how it does. The gas tank seems solid so that’s a plus.
I put the clip on the needle jet down one position to see what would happen and it four stroked like crazy. So I put it back to the middle – still four stroking. So I put it in the 2nd slot. No more four stroking. We’re getting close to the finish line.
3/7/16
Ok, I adapted a Yamaha qt50 front fender to work on the rear of the nc50. I connected the oil injector with weed-eater fuel lines. Oil injector is functional if someone wants to use it. I figured out that it starts better if you don’t try to give it gas while starting. A stronger vacuum is created in the carb if no throttle is given. Starts right up now – no problem. Remaining items are to add turn signal lenses in front, install exhaust guard and try to bend handlebars back. A little clean up and all done.
3/17/16 – Almost at the finish line.
further repairs Published on Oct 25, 2016