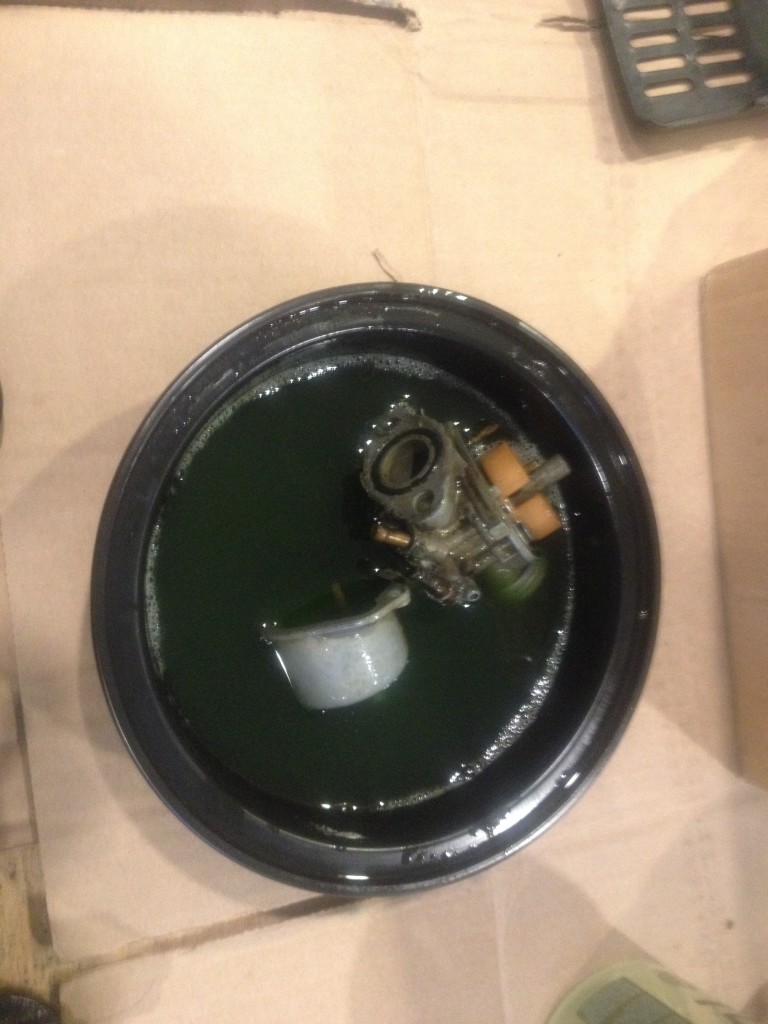
After getting the 1980 Barn Find started, it was time to move on to the 1981 Barn Find. I removed the carburetor, took it apart and started soaking it in a bowl of Simple Green. The carb was full of 2 stroke oil that had leaked out of the tank over the years. I let it soak for most of the day and then cleaned it up with a toothbrush. Rinsed it off and let it dry overnight.
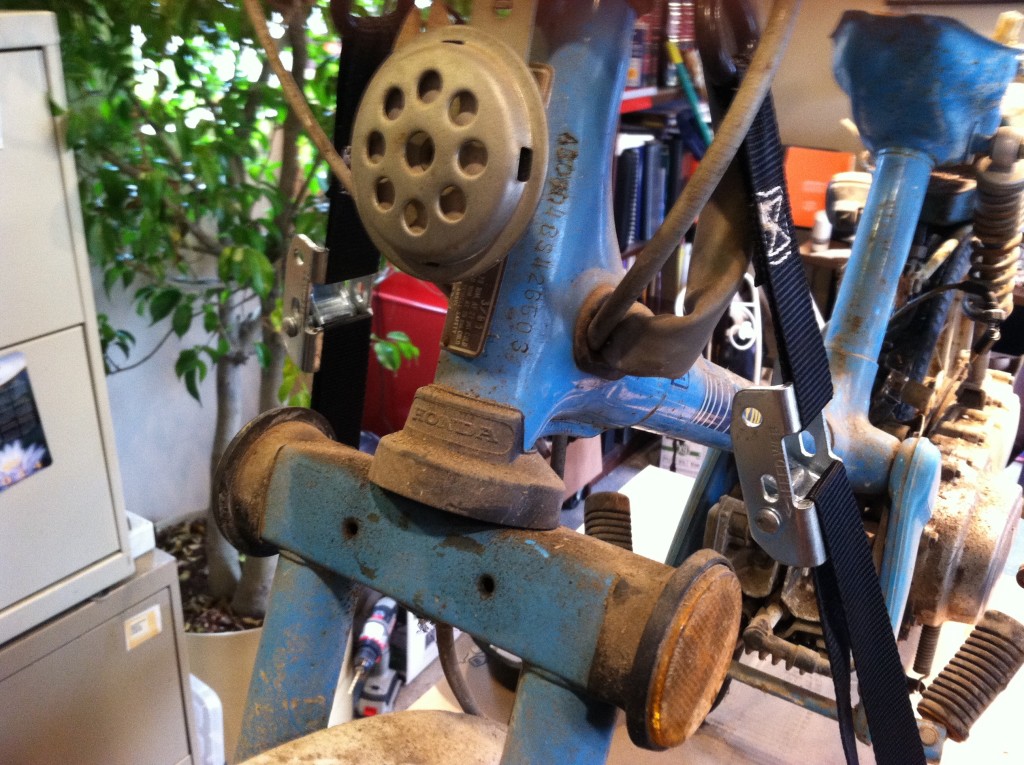
Put it together and then got the 1981 NC50 out of the shed. I decided to take some before pictures just to give an idea of what I’m working with. Nothing like oil and dirt to make your day. Again, my weapons of choice – Simple Green at full strength and an arsenal of old toothbrushes. The picture probably doesn’t do justice to how dirty this thing was.
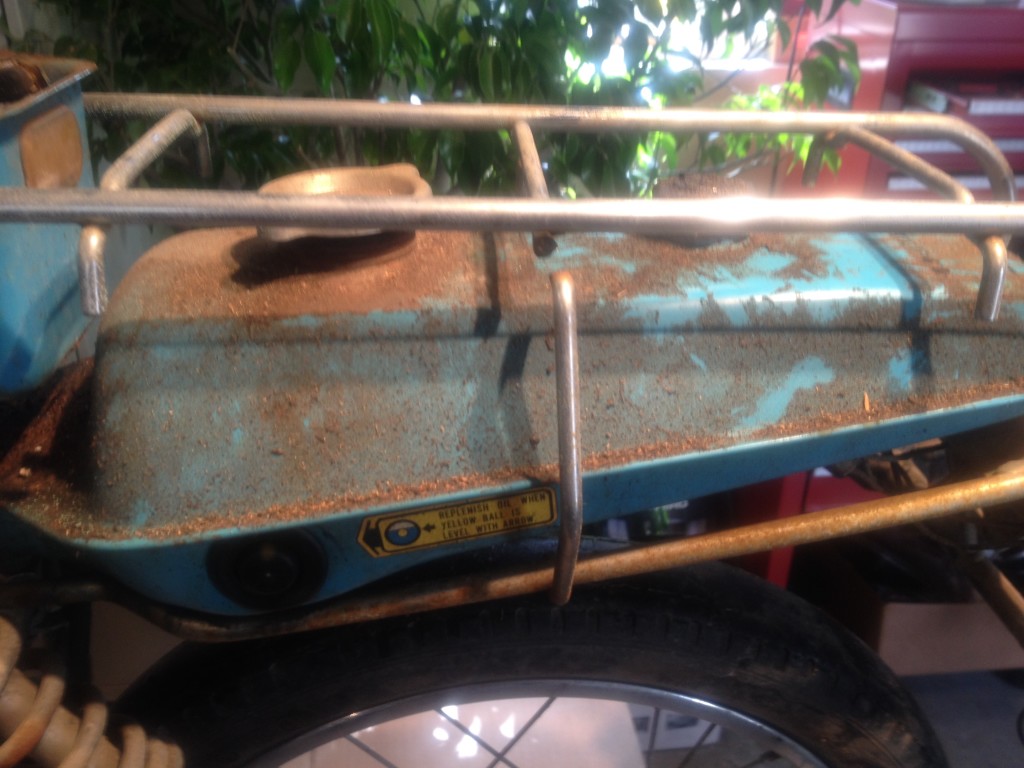
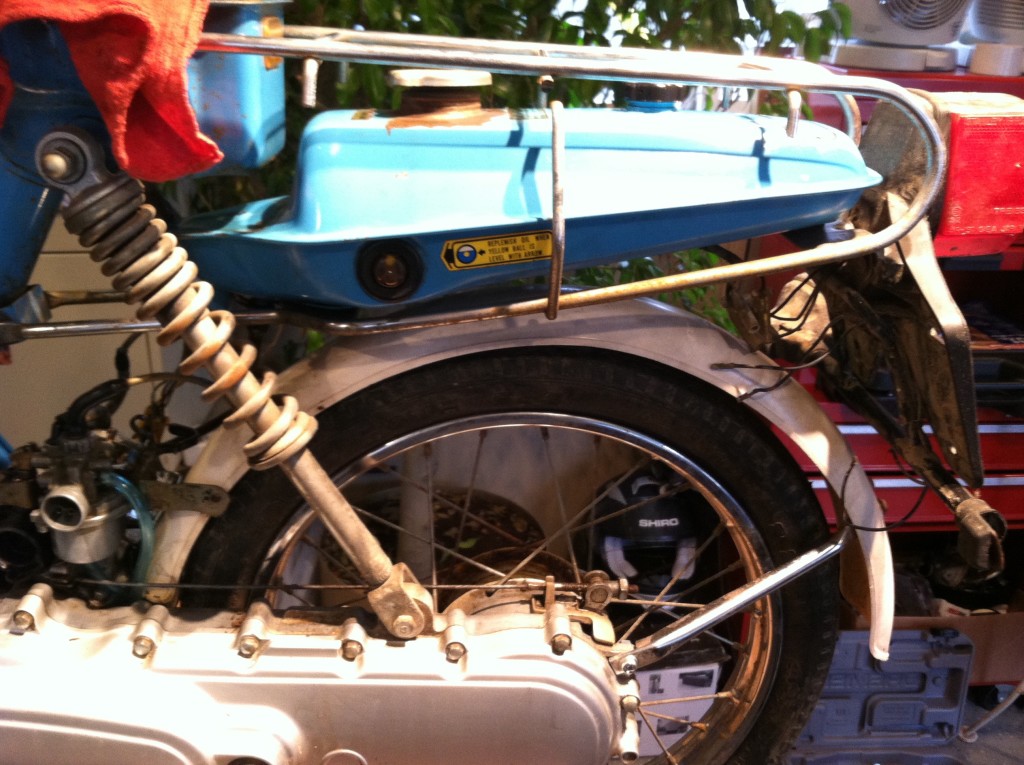
Here’s a better idea of the oil and dirt disaster. The gas tank isn’t too bad on the inside. It probably just needs a rinse. It’s missing two of the bolts that connect it to the rear rack.
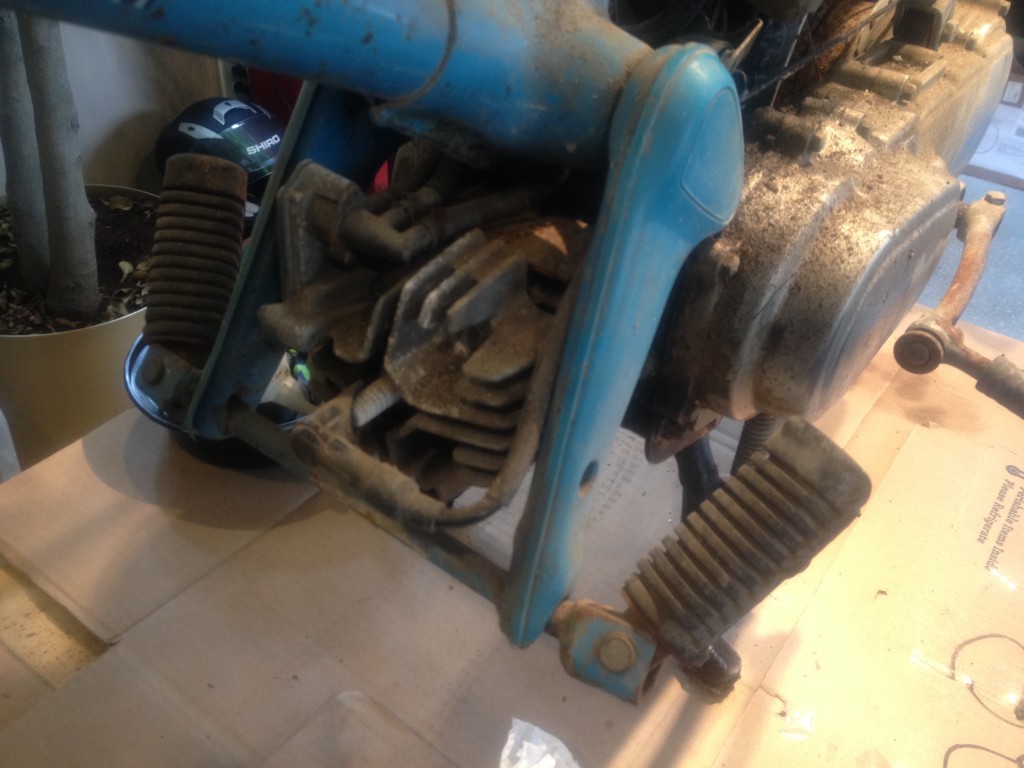
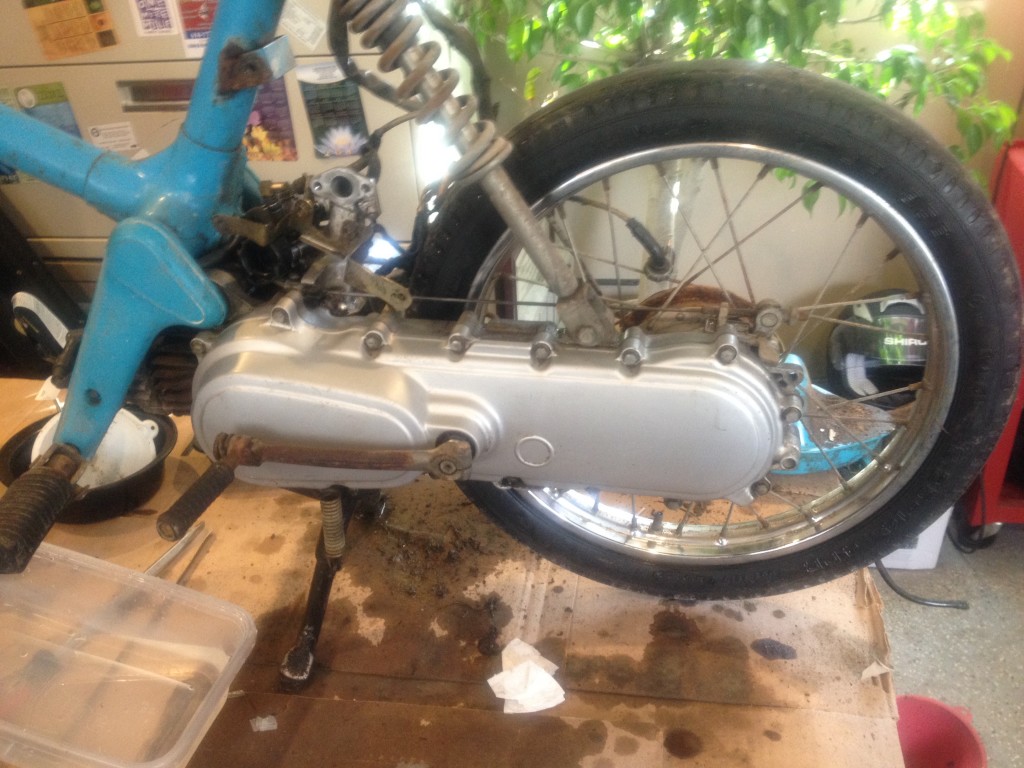
Another shot of the dirt. You can see it collecting on the cylinder head. Spark plug wire is a little beat up. I’ve seen that several times before. Not sure how it happens.
Again, photos don’t do it justice and make it look better than it actually is.
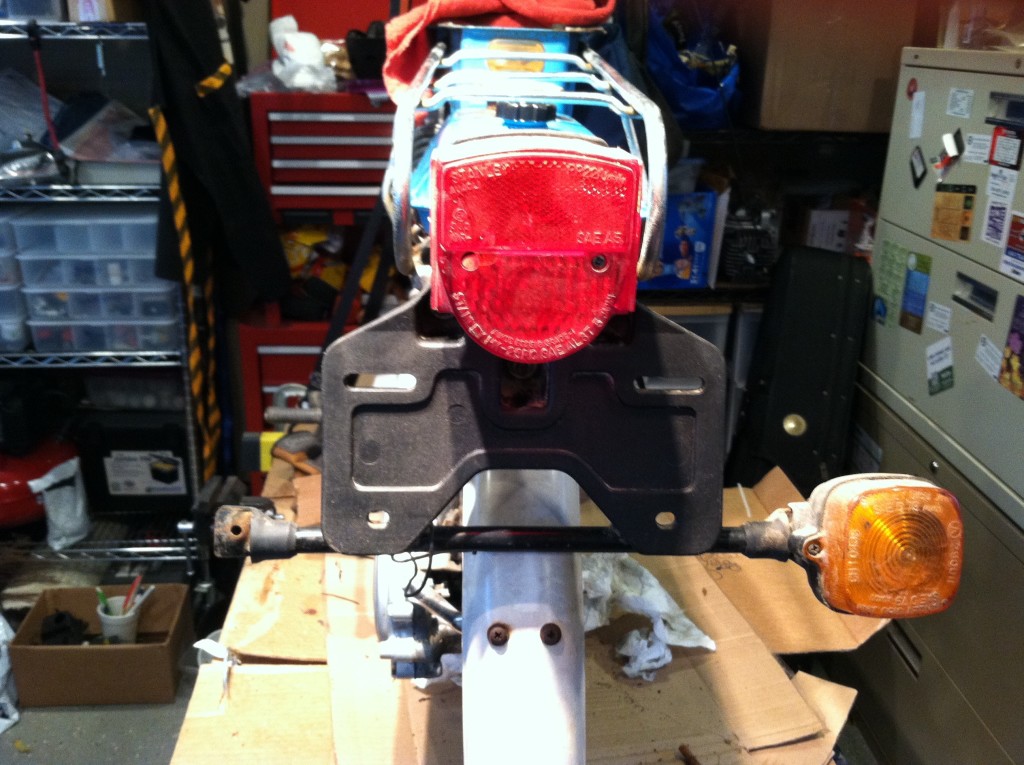
I do have the tail light and screws.
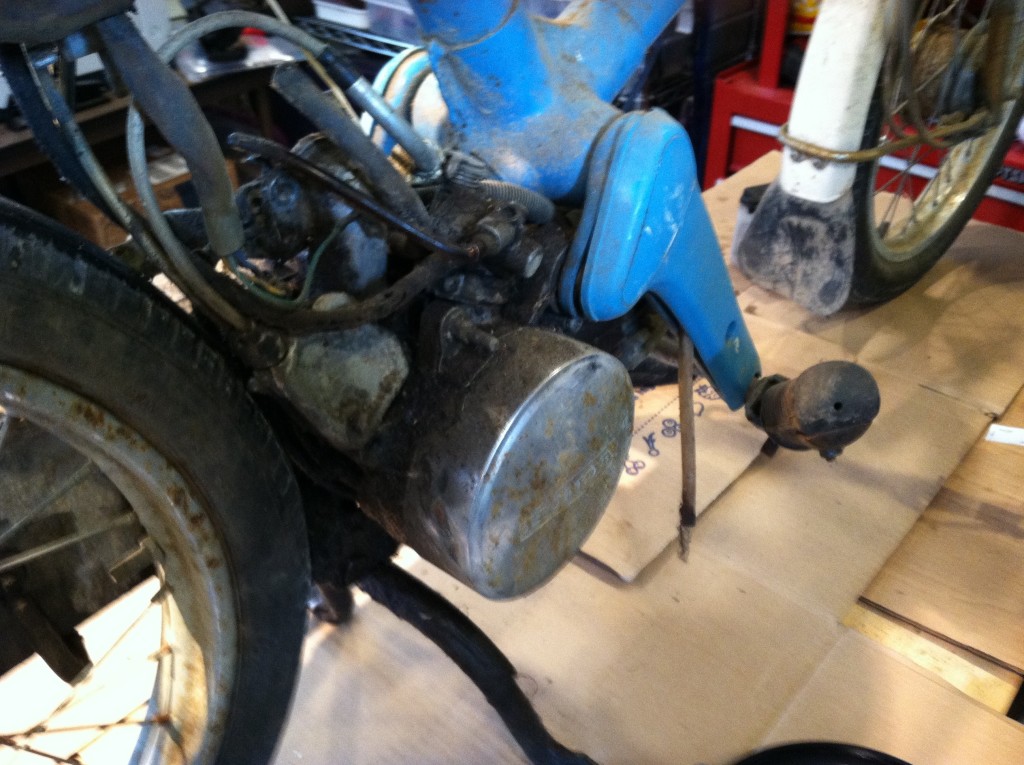
Magneto cover is a mess along with everything around it.
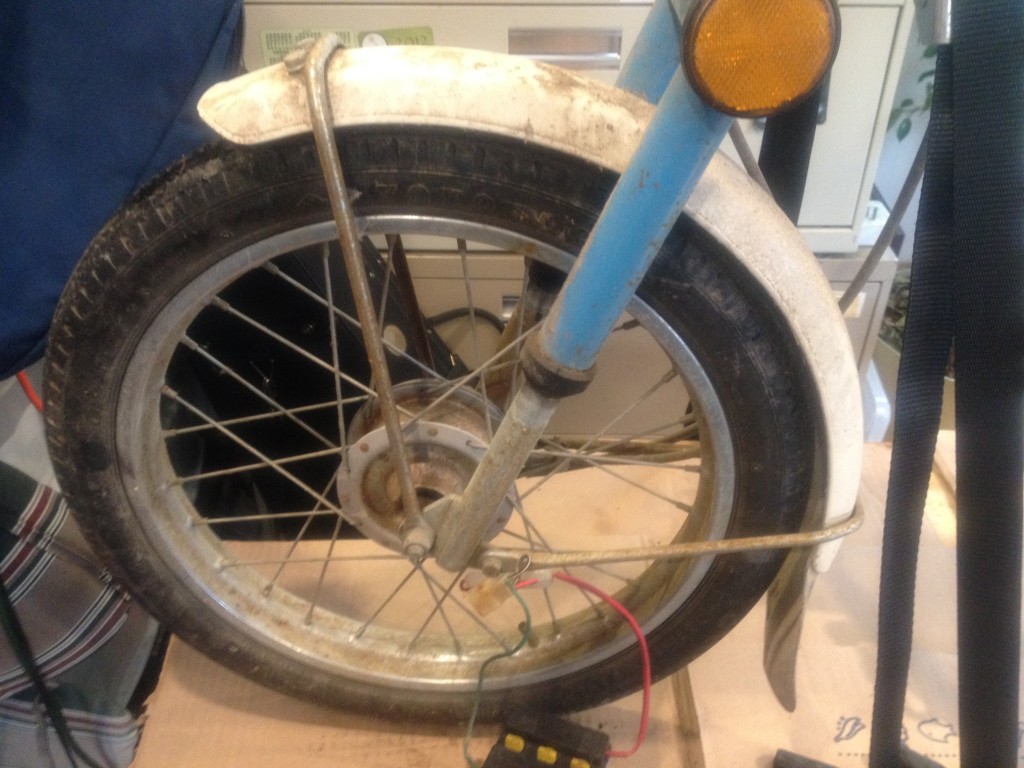
Rear wheel could use some help.

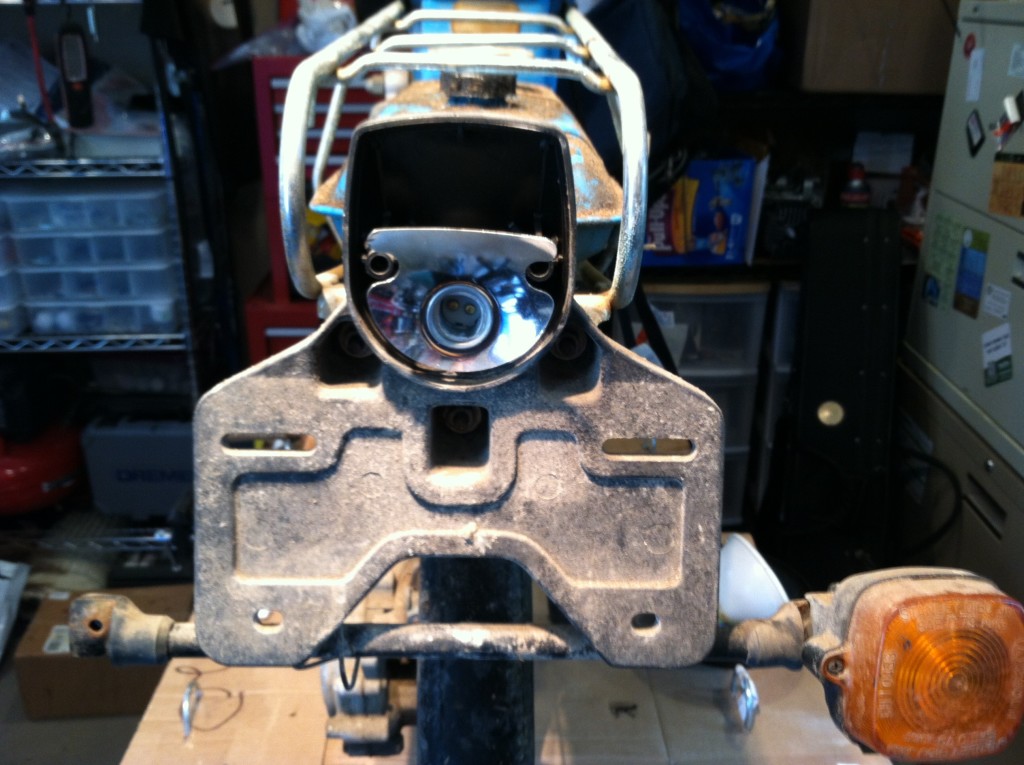
Headlight looks good but doubt it works.
Bonus, I do have reflectors.
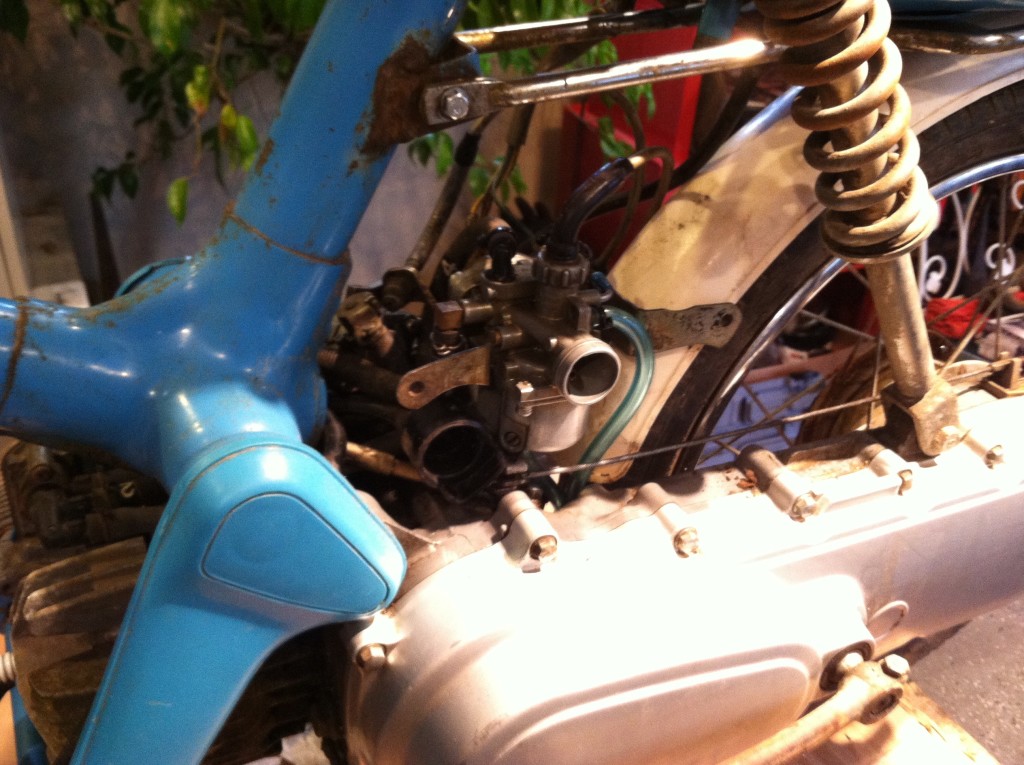
Here I have the tank and rack off and have gone over quite a bit already with my weapons of choice.
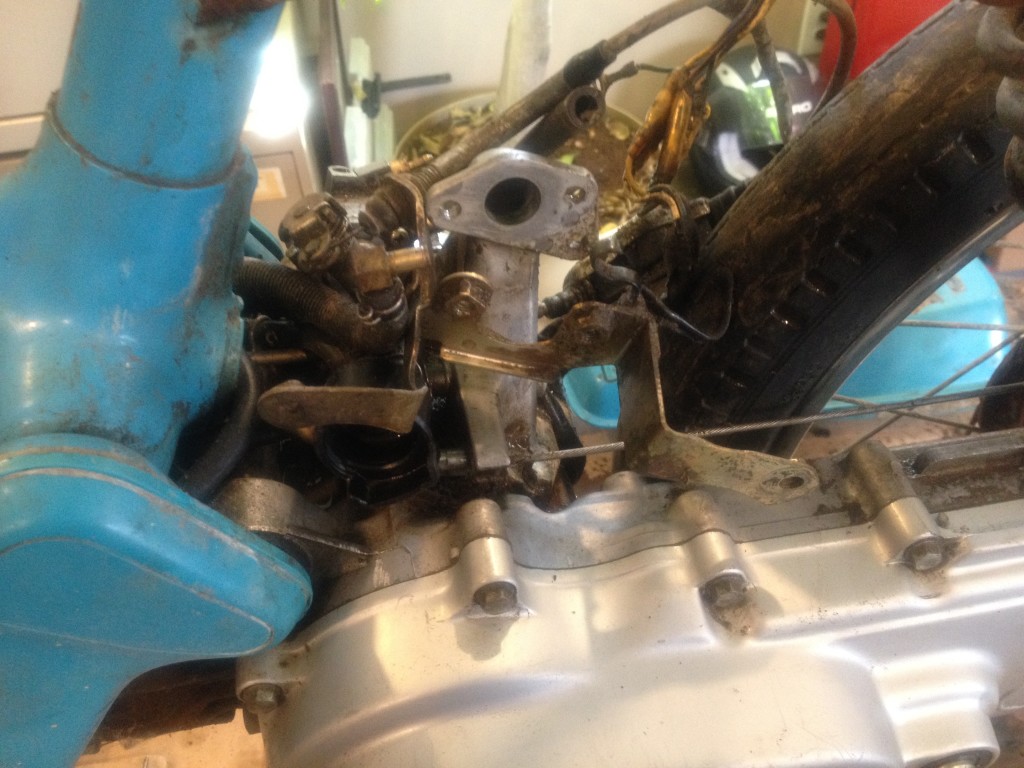
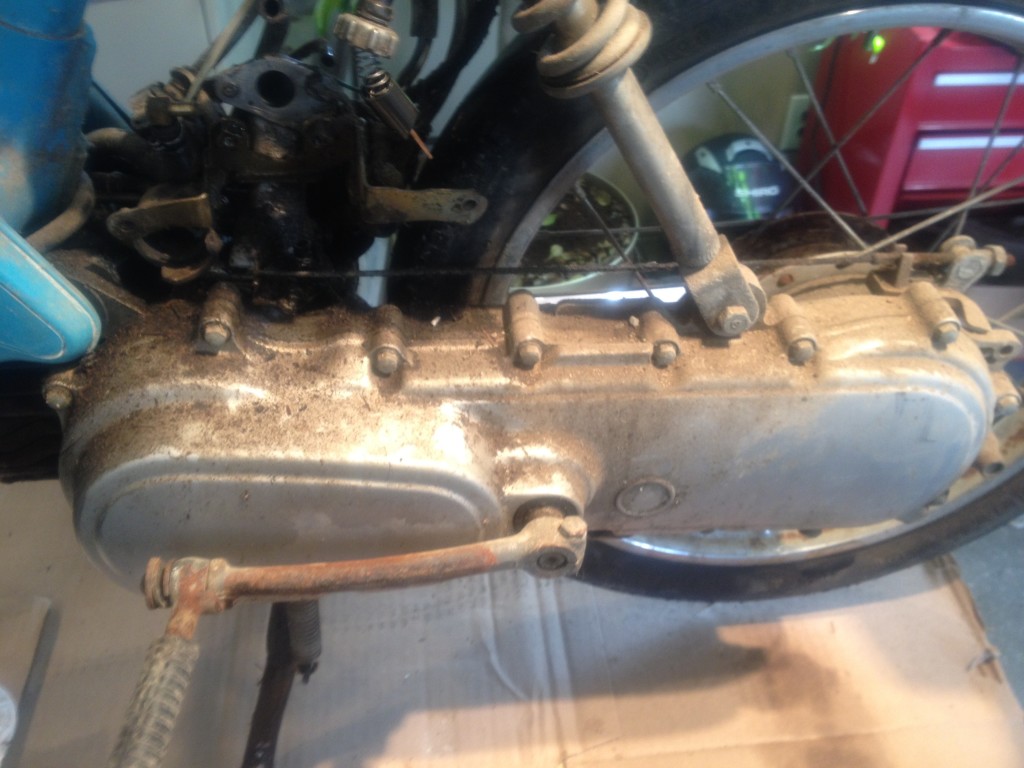
There’s still a lot of dirt/oil around the back of the engine. If you own a Honda Express or any other noped, do the world a favor and run it WITH the rear fender in place. What a nightmare!
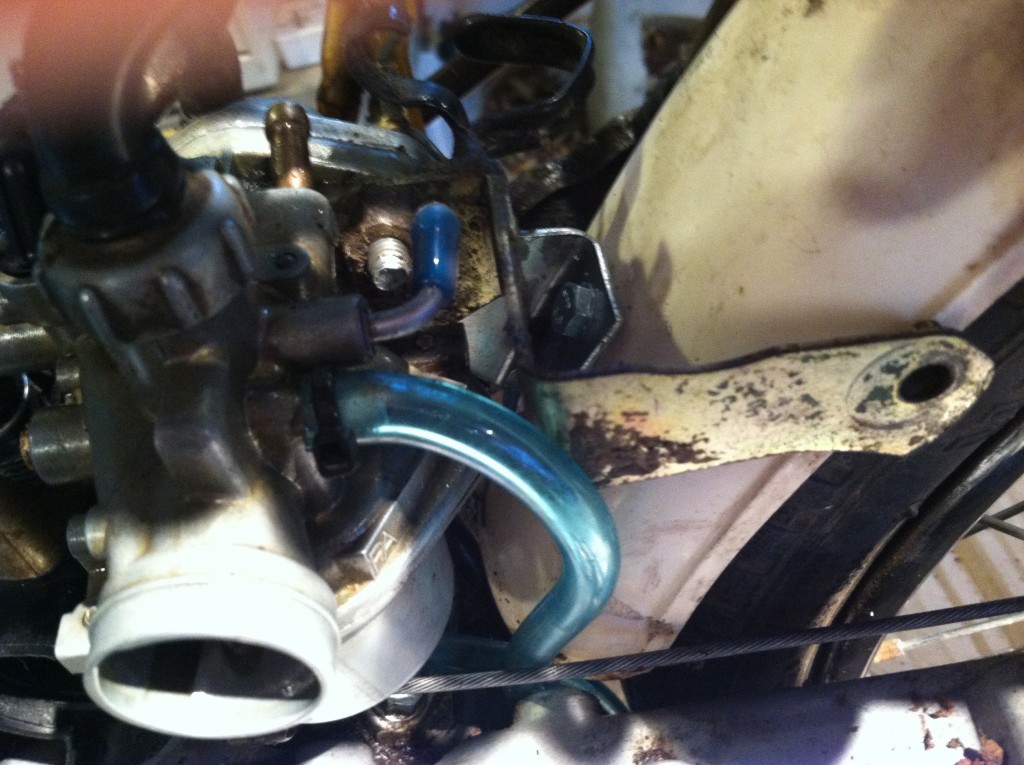
Down around the base of the intake, I was digging around with a toothbrush and found a bolt buried in the dirt. Which reminds me – dig around in this area and in the battery box to find all sorts of goodies. I found a float in a Honda Express battery box once and a float needle resting on the transmission cover.
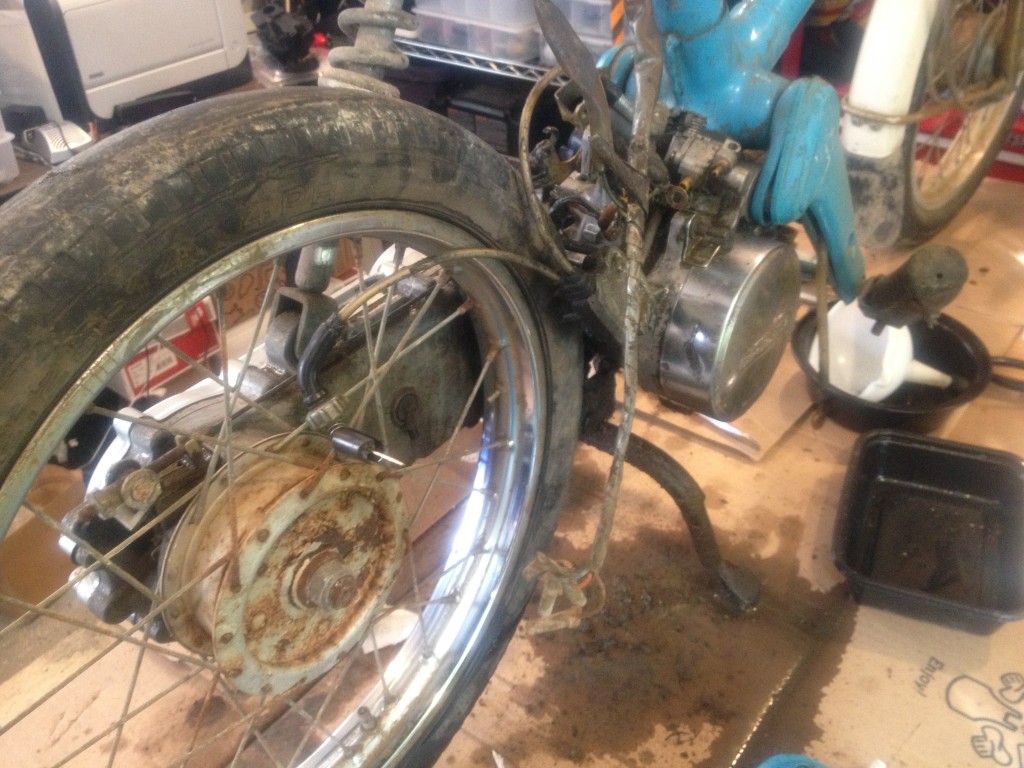
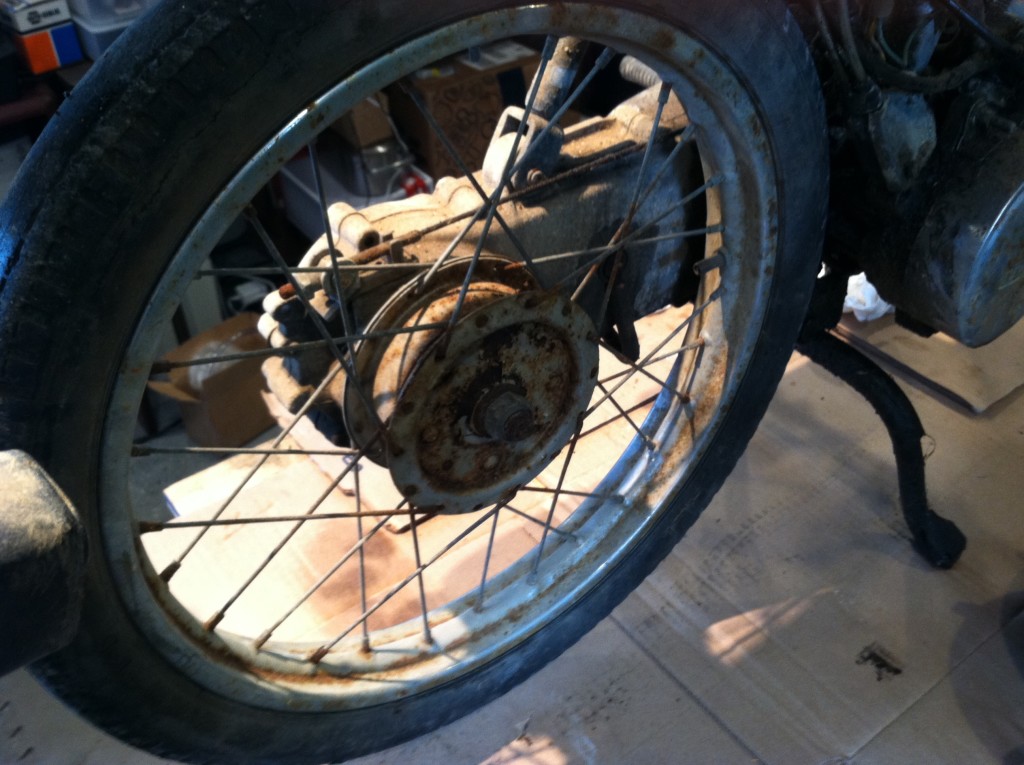
I started to tackle the rear rim and the magneto cover along with all the grime on the back of the engine/in front of the rear tire. That rear hub looks rough and rusty.
Notice how I put cardboard over the work bench. I can pretty much clean with impunity. When it gets too bad, I take the bike down and replace the cardboard. It’s also great to get this thing up a bit off the ground. It’s much easier to clean/work on when you are standing up straight. My workbench consists of plywood over a couple saw horses. I can break it down completely when done or move it outside or anywhere else with ease.
Another benefit of the cardboard – I have a pick and/or a screwdriver. As I’m taking off bolts, I poke holes in the cardboard where it hangs over the end of the workbench. I then place the bolts in the cardboard so they stay in one place and don’t get lost. I group them according to where they came off the bike. I also poke holes for screwdrivers and other tools that I’m using.
Another top tip, I keep a box nearby and throw in all the old parts that I’m probably not going to reuse. It keeps them all in one place, out of the way, and if I change my mind and decide to use something, I know exactly where to find it.
When my tool count gets high (too many tools on the workbench), I’ll often put almost all the tools back in their proper drawers/space in my toolboxes. I hate looking for tools and parts.
3/3/16 – Made some steady progress on the NC50 today. I’m pretty proud of modifying a Yamaha QT50 rear fender to work on the NC50.
I probably even have room for a bigger tire as well.

Here’s my Dremel work on the QT50 fender stay.
I had a spare bracket from another NC50 that I put on the fender. I ended up cutting off the Yamaha QT50 plastic mounting bracket.
I installed the carburetor.
Turns out the previous owner had over-tightened one of the screws on the tail light lens. So I have it attached with one screw.
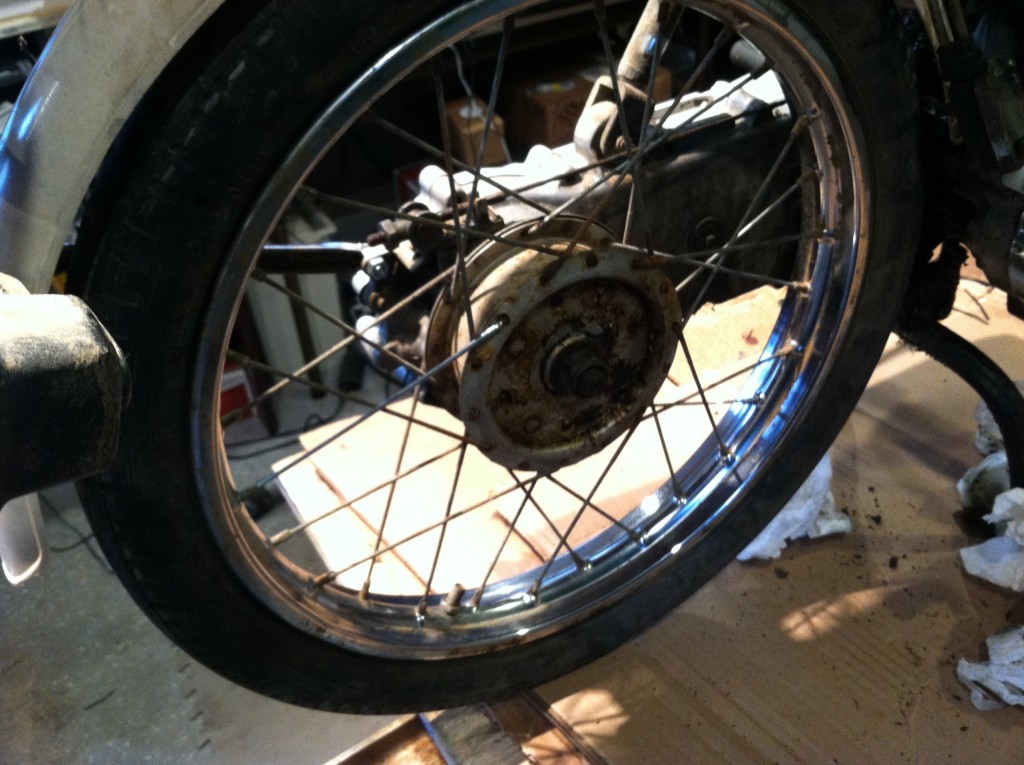
I replaced the two missing spokes and tightened the others on the rear wheel.
I need to install air filter, new battery, seat, headlight, rear turn signal, front turn signal lens, adjust the brakes, add transmission oil, rinse out the gas tank, wire up the rear lights, and do some general clean up and then pretty much done.
3/4/16 – Didn’t do much today. Just bought a new battery. I might add a turn signal to the rear later tonight. Waiting on parts.
First start video 3/7/16
4/29/16 – I installed the Dellorto SHA 15.15 carburetor with the help of the MLM intake adapter and the express started right up. I think I adjusted the throttle stop screw 2 1/2 turns out and then another 1/4 turn out. She purred like a kitten. I had to adjust the throttle cable between the throttle junction box (I’ll call it that anyway) and the carb by cutting off a bit of cable and using an adjustable knarp. I put the old carb up for sale on eBay. I’m not a big fan of Honda’s auto-choke system. I think I’ll get another carb/intake combo for my other nc50 as well as my nu50.
As you can see in the video, I deleted the oil injector and capped its spot with an expansion plug. I got rid of all the auto-choke hosiery as well and capped off the outlets/inlets. Those changes and the tiny mesh air filter that comes with the Dellorto really cleaned up the look. When I get time, I’ll take a toothbrush to that area and do some real cleaning.
I just need to add a turn signal lens, install new rear tire and tube, add a mirror, adjust the rear brake lever, swap out the speedometer and we’re good to roll. I’ll put this one up for sale so if you are near Columbus, Ohio and are interested, let me know. First ride video below.
First ride video 4/29/16
As I indicated above, installation of the Dellorto SHA 15.15 carb was fairly easy and just required a little throttle cable adjusting at the throttle junction box. I experienced quite a bit of four stroking after I swapped out the bald back tire for a brand new Kenda tire. I think the old tire was low on air and created a lot of drag. I changed the main jet from a 68 to a 64 and it ran much better.
I later added a cone, mesh air filter and top speed went from 27 mph to almost 31 mph. I increased the main jet size from a 64 back to the original jet size of 68. The push-down, lever choke is wonderful and it releases when you give it full throttle. It makes for super-easy cold starts and it often starts with one kick.
I’m going to take the lessons I learned from this one and apply them to my Honda Urban Express. There is an MLM intake adapter specifically for the Urban Express and I’ll pair it with a Dellorto SHA 15.15 carb or perhaps a clone. I’ll go with the lever choke again and cap off the stock auto-choke system. I’ll be interested to see if I can get another 4 mph increase from this upgrade.
Anyhow, I just sold this express and I had just got it running great. It was fun while I had her.